DIY Painted Doormat
Cason and I have been getting seriously outdoorsy. And by outdoorsy, I mean hanging out on our patio. (When freakishly large bees aren’t attacking us.) Recently we re-did our patio (you’ve got to check that out here) and ever since then we can’t get enough. We’ve been grilling out, enjoying dinner or drinks on the patio, and even sitting out there for a chat or two. The weather’s been great and we want to take full advantage of it!
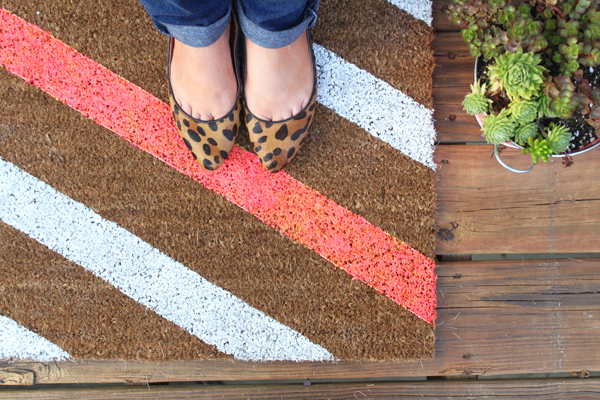
While perusing Pinterest the other day I saw two DIY doormat ideas. (It was like a sign!) They both seemed so simple, I knew I could handle it. I thought this was the perfect summer DIY project and I could make one to match our new patio- win, win! (It’s budget friendly too!)
Materials:
:: plain coir doormat (Let me save you the hassle, Target and Bed Bath and Beyond don’t have them. Make Home Depot your first stop.)
:: duck tape
:: sponge
:: paint (You can see I started with a yellow but didn’t love it. I ended up using glow pink and white but you can use whatever colors you want!)

Instructions:
Step 1 | Start by taping off the design you want on your mat. I decided on diagonal stripes but I have seen some with vertical or horizontal stripes. I have also seen some designs using sponges they cut into polka dots or triangles.

Step 2 | Apply paint to your mat using a sponge brush. You want to just dab it on there so you get into all the crevasses. If you’re using a natural fiber mat like mine, you’ll need a lot more paint than you think. It absorbs paint really quickly and it will take several coats! For the white stripes I needed 1 large bottle and for the hot pink stripe I needed 3 smaller bottles.

Step 3 | Let the paint dry then peel off the tape and you’re done!
